mirror of https://github.com/bmgjet/Ruyi-GUI.git
|
|
||
|---|---|---|
| Ruyi-GUI | ||
| README.md | ||
| Ruyi-GUI.sln | ||
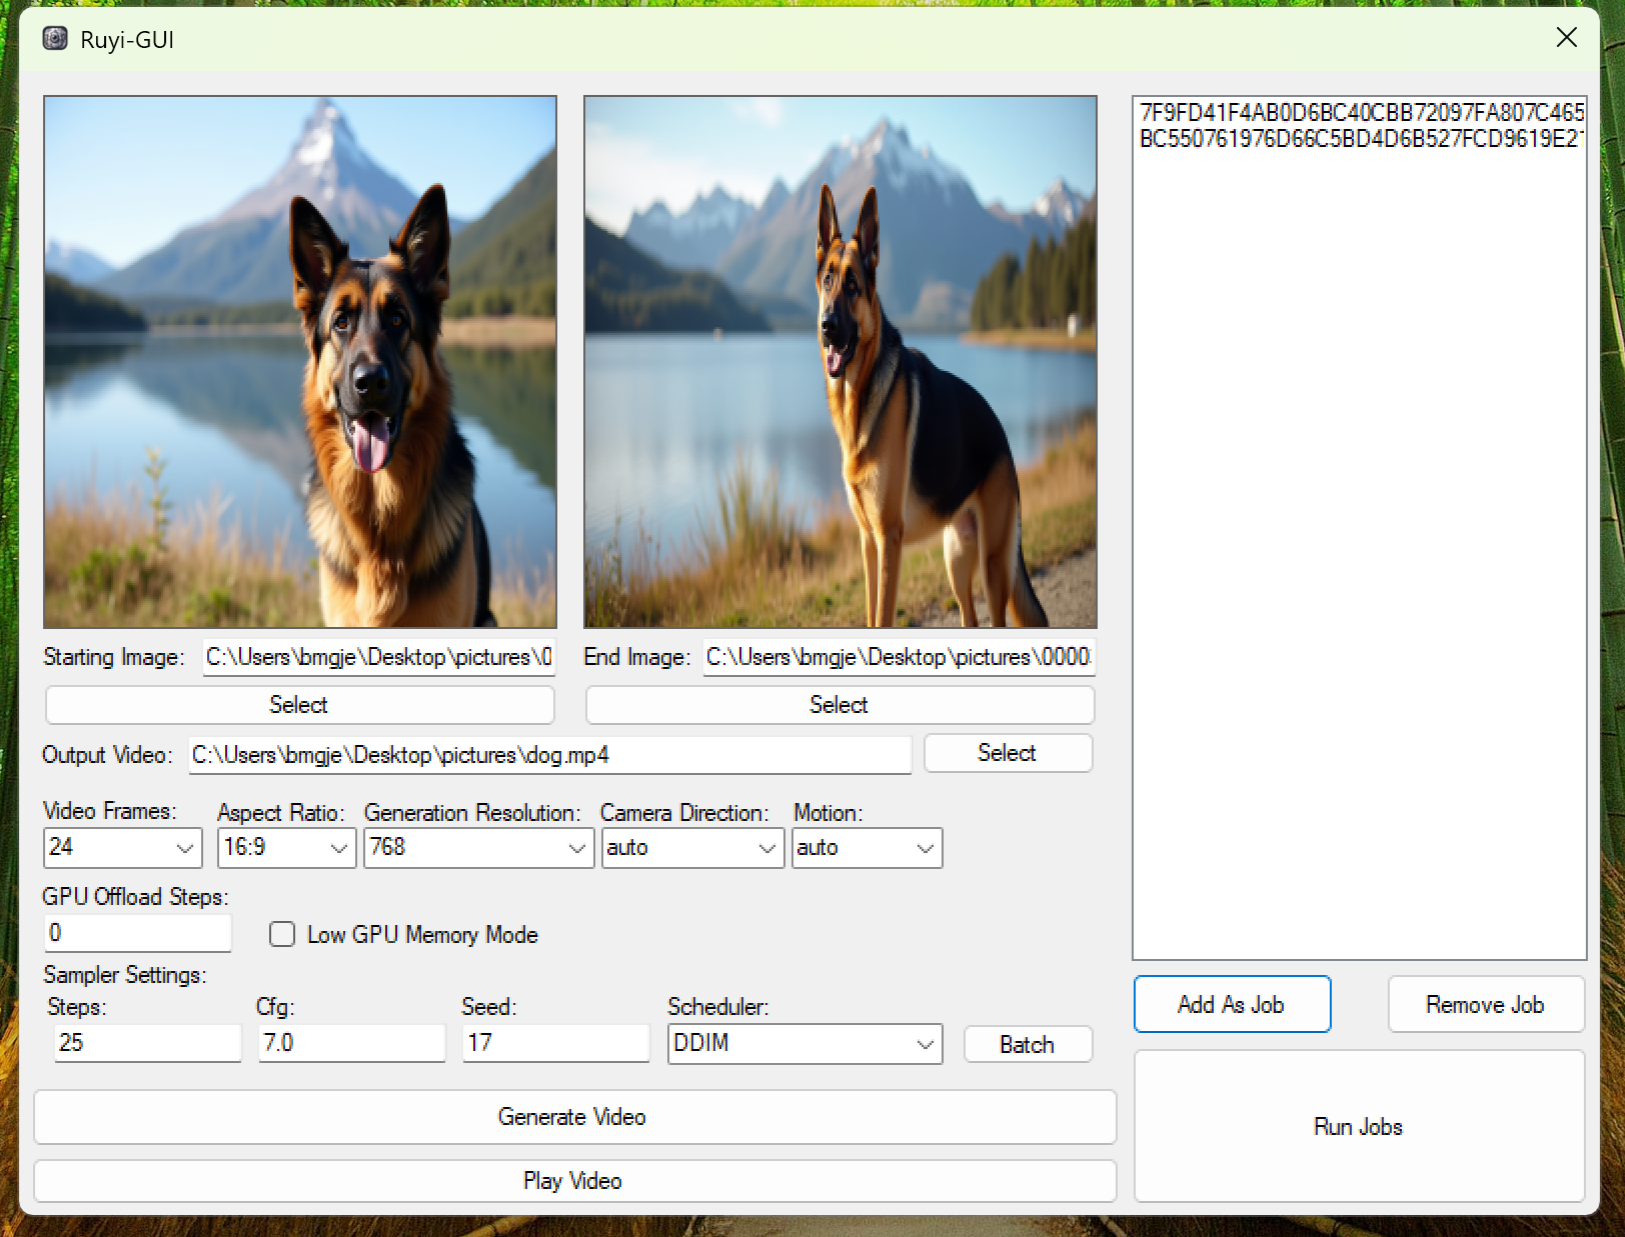
| guiscreenshot.png | ||
README.md
Ruyi-GUI Setup Guide
Prerequisites
-
Download and set up a Python environment
The recommended environment iswebui_forge_cu124_torch24.7z, which you can download from the Stable Diffusion WebUI Forge GitHub Releases. -
Extract and run Forge
- Extract the contents of the downloaded file.
- Run
run.batto let Forge automatically download all necessary dependencies. - After setup, your folder structure should look like this:
system/
webui/
environment.bat
run.bat
update.bat
Setting Up Ruyi-GUI
-
Download Ruyi-GUI
- Navigate to Ruyi-GUI/bin/Release/.
- Download the
Ruyi-GUI.exefile.
-
Place Ruyi-GUI.exe in the Forge folder
Copy the downloadedRuyi-GUI.exeinto the root of the Forge folder (the same location asrun.bat). -
Prepare the Ruyi-Models folder
- Create a new folder named
Ruyi-Modelsin the Forge folder. - Download the Ruyi Models from IamCreateAI/Ruyi-Models.
- Extract the contents of the downloaded archive into the
Ruyi-Modelsfolder.
- Create a new folder named
Running the Application
- Double-click
Ruyi-GUI.exeto start the application. - Follow the on-screen instructions to load models and begin using the GUI.
Screenshot
Additional respective GitHub repositories:
