8.6 KiB
| title | description | published | date | tags | editor | dateCreated |
|---|---|---|---|---|---|---|
| Speeduino Firmware setup | Setting up the Speeduino firmware on your board | true | 2021-01-27T11:59:19.461Z | undefined | 2020-01-06T01:37:01.522Z |
Loading the Speeduino firmware
Overview
The Speeduino firmware is the code that powers the hardware and must be installed onto your board prior to using the ECU. New firmware releases are made regularly (Approximately every 2 months) that bring new features, bug fixes and performance improvements so staying up to date is highly recommended.
With the goal of maximum simplicity in mind, the process of compiling and installing the firmware is reasonably straightforward. Most users will use the SpeedyLoader method for installing the firmware
Installation - SpeedyLoader
The simplest (and recommended) method of installing the Speeduino firmware onto a standard Arduino Mega 2560 is with the SpeedyLoader utility. SpeedyLoader takes care of downloading the firmware and installing it onto an Arduino without the need to manually compile any of the code yourself. You can choose the newest firmware that has been released, or select from one of the older ones if preferred. SpeedyLoader will also download the INI file and optionally a base tune for the firmware you choose so it can be loaded into your TunerStudio project.
- Windows: 32-bit / 64-bit
- Mac: SpeedyLoader.dmg
- Linux: SpeedyLoader.AppImage (Will need to be made executable after downloading)
- Linux requires libusb libraries to be installed. EG if on Debian/Ubuntu:
sudo apt-get install libusb-1.0-0 libusb-0.1-4:i386
- Linux requires libusb libraries to be installed. EG if on Debian/Ubuntu:
- Raspberry Pi SpeedyLoader.AppImage
- Raspberry Pi / Raspbian users can install the required libraries with:
sudo apt-get install libusb-1.0-0 libusb-0.1-4
- Raspberry Pi / Raspbian users can install the required libraries with:
Once the firmware is installed on the board, see Connecting to TunerStudio for more details on how to configure TunerStudio
Installation - Manually Compiling
Note that manually compiling the firmware is NOT required to install Speeduino, the easiest (and recommended for most users) method is using SpeedyLoader as described above. {.is-warning}
If you want to compile the firmware yourself, or make any code changes, then the source of both the releases and the current development version is freely available.
Requirements
- A Windows, Mac or linux PC
- One of the following:
- The Arduino IDE. Current minimum version required is 1.6.7, although a newer version is recommended.
- PlatformIO. Can be downloaded from here
- A copy of the latest Speeduino codebase. See below.
- A copy of TunerStudio to test that the firmware has uploaded successfully
Downloading the firmware
There are two methods for obtaining the Speeduino firmware:
- Regular, stable code drops are produced and made as releases on Github. These can be found at: Releases
- If you want the latest and greatest (And occasionally flakiest) code, the git repository can be cloned and updated. See here
Compiling the firmware
- Start the IDE, select File > Open, navigate to the location you downloaded Speeduino to and open the speeduino.ino file.
- Set the board type: Tools > Board > Arduino Mega 2560 or Mega ADK (This is the only board currently supported)
- Click the Verify icon in the top left corner (Looks like a tick)
At this point you should have a compiled firmware! If you experienced a problem during the compile, see the Troubleshooting section below.
This video walks through the whole process of installing the firmware on your Arduino from scratch:
Optional (But recommended)
There is an option available for changing the compiler optimization level, which can improve . By default, the IDE uses the -Os compile option, which focuses on producing small binaries. As the size of the Speeduino code is not an issue but speed is a consideration, changing this to -O3 produces better results (Approximately 20% faster, with a 40% larger sketch size) To do this, you need to edit the platform.txt file:
- Make sure the Arduino IDE isn't running
- Open the platform.txt file which is in the following locations:
- On Windows: c:\Program Files\Arduino\hardware\arduino\avr
- On Mac: /Applications/Arduino/Contents/Resources/Java/hardware/arduino/avr/
- On Linux:
- On the following 3 entries, change the Os to be O3:
- compiler.c.flags
- compiler.c.elf.flags
- compiler.cpp.flags
- Save the file and restart the Arduino IDE
Note: This is NOT required if using PlatformIO, the above optimisation is applied automatically there
Installing
Once you've successfully compiled the firmware, installation on the board is trivial.
- Plug in your Mega 2560 to a free USB port
- If you're running an older version of Windows and this is the first time you've used an Arduino, you may need to install drivers for the Arduino serial chip (USB-UART or "USB adapter chip").
Most official boards and many non-official versions use the ATMega16U2 or 8U2, whereas many of the Mega2560 clone boards utilize the CH340G IC. Both types work well. The serial chips can generally be identified by appearance:
- ATMega16U - This has a square IC near the USB connector - drivers are included in Windows 7+, MacOS and Linux.
- WCH CH340G - This has a rectangular IC near the USB connector- uses "CH341" drivers from WCH for Windows
- WCH-original CH340/CH341 drivers for other systems (Mac, Linux, Android, etc) may be found here.
- In Arduino IDE; select the Mega2560: Tools > Board
- Select your system's serial port to upload: Tools > Serial Port
- Hit the Upload button from the top left corner
Older firmware releases
If required, older firmware releases and details can be found at Firmware_History
Verifying Firmware
The firmware is now loaded onto your board and you are now able to move onto Connecting to TunerStudio.
Optionally, you may perform a manual verification of the firmware by using the Arduino IDE's Serial Monitor. This can be started by selecting 'Serial Monitor' from the Tools menu.
In the window that appears, enter a capital "S" (no quotes) and press Enter. The Mega should respond with the year and month of the code version installed (xxxx.xx):
Speeduino 2017.03
NOTE: Ensure the baud rate is set to 115200
You can also enter "?" for a list of queries from your Mega.
Troubleshooting
Incorrect Arduino board selected
If you see the following (or similar) errors when trying to compile the firmware and the solutions:
scheduler.ino:317:7: error: ‘OCR4A’ was not declared in this scope
scheduler.ino:323:8: error: ‘TIMSK5’ was not declared in this scope
scheduler.ino:323:25: error: ‘OCIE4A’ was not declared in this scope
You may have the wrong kind of Arduino board selected. Set the board type by selecting Tools > Board > Arduino Mega 2560 or Mega ADK
Entire Speeduino project is not opened
The following can occur if you have only opened the speeduino.ino file rather than the whole project.
speeduino.ino:27:21: fatal error: globals.h: No such file or directory
Make sure all the files are contained within the same directory, then select File->Open and find the speeduino.ino file. If you have opened the project correctly, you should have multiple tabs along the top:
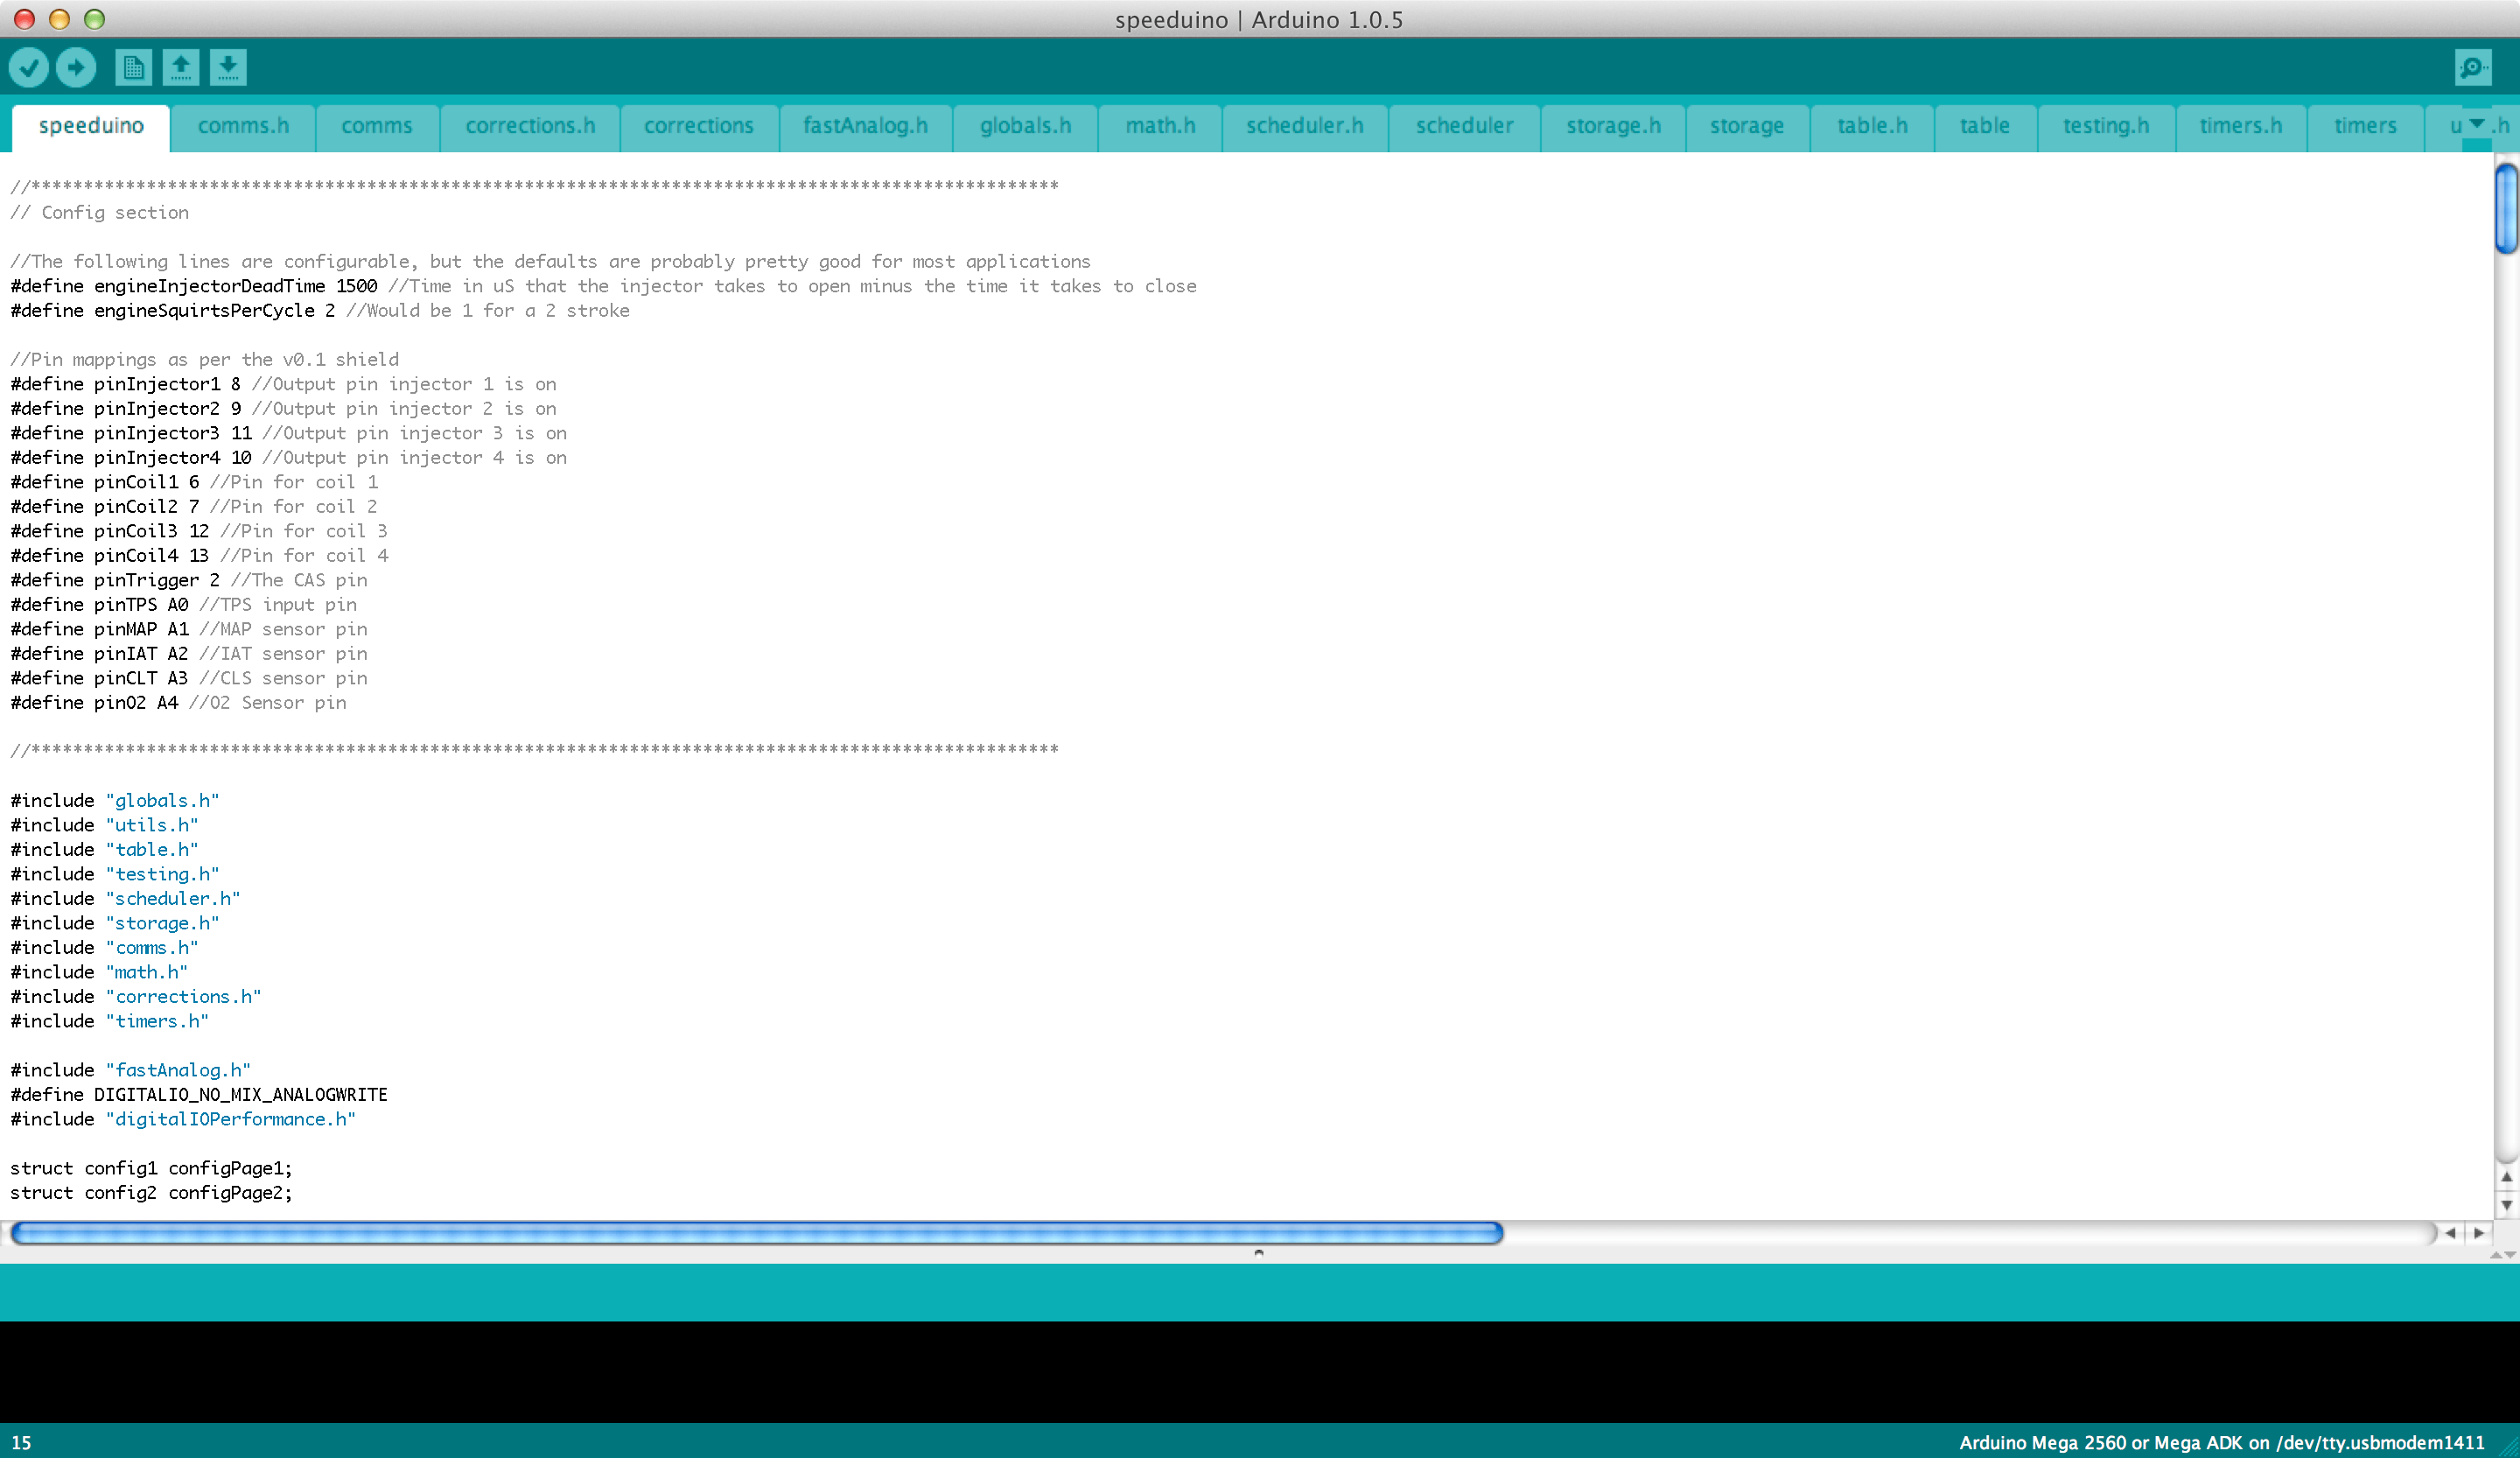 {.align-center width=500}
If you see only a single file or a small number of files then you haven't opened the entire project.